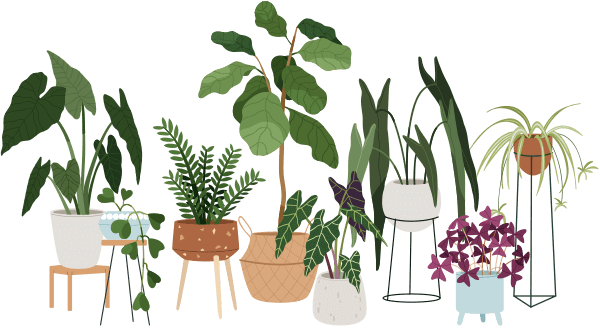
Have you noticed your ghost plant looking a little cramped or maybe not growing as happily as before? Repotting ghost plant (also called Graptopetalum paraguayense) can seem intimidating if you’ve never done it, but you’re in the right place! Whether your leafy friend is sprawling a bit wildly or simply outgrowing its pot, repotting ghost plant is a loving act that helps it stay healthy, strong, and beautiful.
If you’re questioning whether you’ve done it “wrong,” take a deep breath. Every plant owner has felt unsure before. Let’s walk through each step together, so you’ll feel confident about giving your ghost plant the fresh start it deserves.
Why Should You Repot a Ghost Plant?
Repotting isn’t just about aesthetics. Here are the main reasons to consider repotting ghost plant:
- Root Growth: Roots need space! If your plant is root-bound (roots circling the pot), it can’t access water or nutrients well.
- Soil Refresh: Old soil becomes compacted and loses nutrients over time.
- Pest or Rot Issues: Sometimes, repotting is essential to treat root rot or get rid of pests hiding in the soil.
Don’t worry if you didn’t get this perfect before—the good news is these resilient succulents are forgiving!
How Can You Tell If Your Ghost Plant Needs Repotting?
Look for these signs your ghost plant might be ready for a new home:
- Roots poking out the drainage holes
- Water runs right through the pot too quickly
- Leaves are dropping off more than usual
- The plant has become top-heavy or is outgrowing the pot
- Soil looks tired or smells musty
If you see any (or all) of these, repotting ghost plant is a great next step.
What Do You Need to Repot Ghost Plant Successfully?
You don’t need fancy gear—just a few basics you may already have:
1. A slightly bigger pot – 1 or 2 inches wider than the current pot, with a drainage hole
2. Well-draining potting mix – Try a cactus/succulent blend, or mix regular soil with perlite or coarse sand
3. Gloves – Opt for these if your skin is sensitive
4. A spoon or small hand shovel (optional)
Step-by-Step: How to Repot a Ghost Plant (Even If You’ve Never Done It Before)
It’s easier than you think! Follow these steps:
1. Gently remove your plant from its old pot:
Tip the pot sideways and loosen the plant. Don’t yank it! Pat the outside, or run a blunt knife around the edge to dislodge stubborn roots.
2. Check the roots:
Look for brown, mushy spots (signs of rot). Trim any bad roots with clean scissors.
3. Prepare the new pot:
Add a layer of fresh, dry potting mix at the bottom. Hold the plant in the center.
4. Fill in around the roots:
Use more soil to fill gaps. Don’t bury the leaves—just the roots.
5. Wait before watering:
Let your plant settle for 1–2 days before watering. This helps prevent root rot.
6. Put your plant in bright, indirect light:
Let it adjust before moving to direct sunlight.
Common Myth: Do Ghost Plants Need Huge Pots When Repotted?
A common mistake is thinking, “Bigger is better.” In truth, when repotting ghost plant, you only need a pot just slightly larger. Too much space can hold extra moisture, risking rot. Choose wisely!
Quick Tips for Repotting Ghost Plant in Small Apartments
- Work on a tray or newspaper for easy cleanup.
- Use lightweight pots (like plastic or ceramic) if your windowsills are narrow.
- Consider small amounts of slow-release fertilizer mixed into the new soil for gentle nutrition.
Summary: Repotting Ghost Plant Is Doable and Rewarding
Repotting ghost plant keeps your succulent happy and healthy, even in a cozy apartment. With the right steps and gentle care, it’ll reward you with vibrant growth. Don’t stress if things aren’t perfect—plants (and plant owners!) learn and thrive with a bit of patience. Remember, every time you try repotting ghost plant, you’re giving your plant a new chance to shine!