Thinking about moving your leafy friend to a bigger pot? Whether you’re dealing with stubborn root rot, cramped roots, or just want your plant to thrive, mastering the basics of plant care starts here—with tried-and-true tips for repotting plants. Maybe you’ve already tried this and watched your plant sulk, or perhaps the idea makes you nervous. Don’t worry! Repotting plants can be much less intimidating with some friendly advice and easy-to-follow steps. By the end of this guide, you’ll feel confident, equipped, and ready to help your plant grow its happiest roots ever.
Why Should You Repot Your Plants?
Repotting is more than just a cosmetic upgrade. It’s a simple but powerful way to refresh the soil, give roots space to grow, and prevent diseases. Many apartment dwellers think plants only need this once in a blue moon, but that’s a myth! Most houseplants benefit from repotting every year or two, especially if they’re showing signs like roots growing out of their drainage holes, droopy leaves, or soil that dries out way too quickly.
What Tools and Supplies Do You Really Need for Repotting Plants?
Here’s the good news: you don’t need fancy equipment. Most tips for repotting plants can be accomplished with things you already have at home. Gather these essentials before you start:
- A slightly larger pot (about 1-2 inches wider)
- Fresh potting soil (match it to your plant type if you can)
- A small trowel or spoon
- Gloves (optional, but helpful)
- A watering can or cup
- A mat, newspaper, or large grocery bag to catch soil (crucial for small spaces)
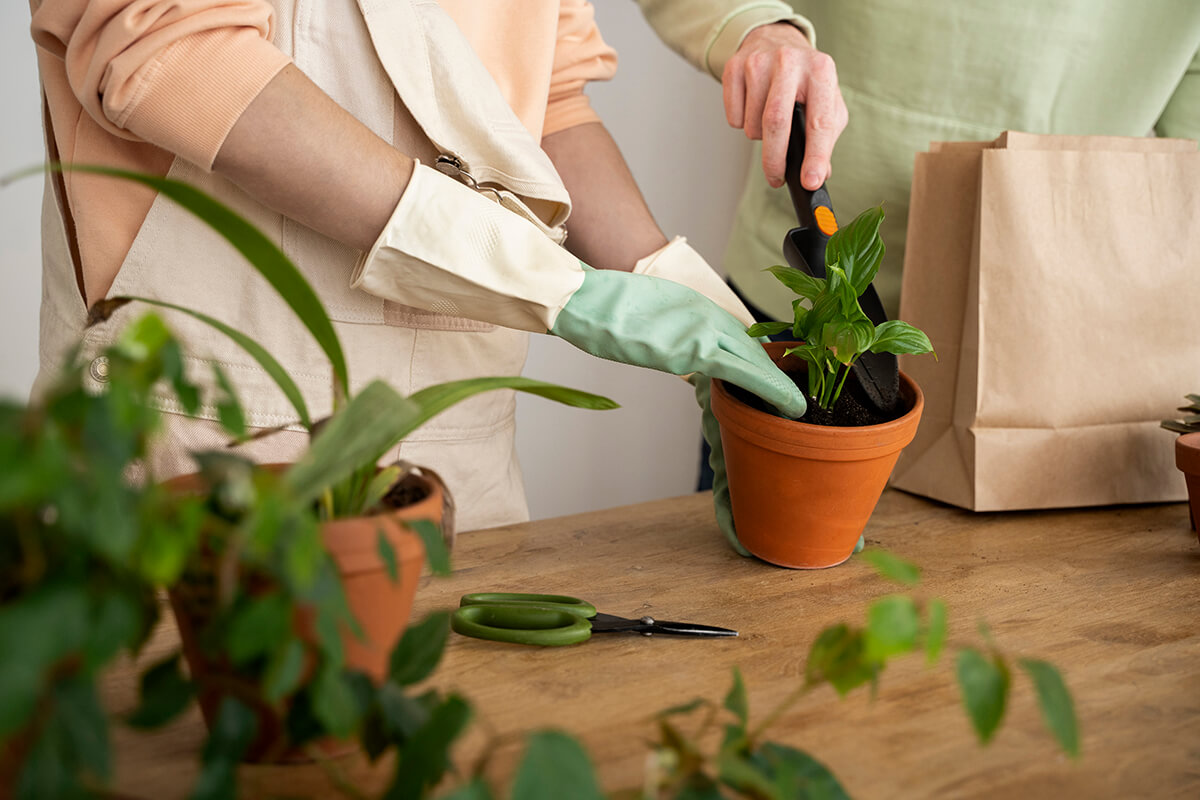
Step-by-Step: How Should You Repot a Plant?
Don’t stress if you’ve gotten this wrong before—all plant lovers have accidentally made a mess! Here’s a beginner-friendly routine to follow:
1. Choose the right time. Spring is usually best, but anytime your plant is actively growing is fine.
2. Water your plant the day before. Moist soil helps roots slide out more easily.
3. Remove the plant gently. Tip the pot sideways, tap the sides, and ease the plant out by the base, supporting as much of the soil and root as possible.
4. Tease out the roots. Loosen tangles or circling roots, trimming away any brown, mushy (rotting) parts if needed.
5. Add soil to the new pot. Place enough soil at the bottom so your plant will sit at the same height as before.
6. Position your plant. Hold it upright and fill in fresh soil around the roots, gently pressing down as you go.
7. Water thoroughly. Add water slowly so you don’t wash away all that new soil.
Tips for Repotting Plants in Apartments
Apartment dwellers, rejoice! Repotting can be tidy and fuss-free. Here’s how:
- Repot on a balcony, in your bathtub, or over a plastic sheet to catch spills.
- Use lightweight soil mixes—they’re easier to clean up and better for small spaces.
- Don’t jump to a huge pot; just a size or two larger helps avoid overwatering issues.
What’s the Biggest Myth About Repotting Plants?
Myth: “If my plant looks healthy, it never needs a bigger pot.”
Reality: Even good-looking plants can struggle if their roots run out of space. Look for roots circling the bottom, soil that drains instantly, or a plant that tips over too easily. Repotting gives the roots—and your plant—a fresh start.
Summary: The Most Important Tips for Repotting Plants
Repotting isn’t just for experts, and everyone can learn with a few tips for repotting plants. Remember: pick the right time, use fresh soil, handle roots with care, and don’t be afraid to get your hands dirty. Your plant will reward you with bigger, healthier growth—right there in your apartment.