Have you ever wondered why your beloved plant suddenly stopped growing or why water sits on top of the soil instead of quickly absorbing? Sometimes, the solution is simple: the plant has outgrown its home! Repotting garden plants isn’t just for expert gardeners—it’s something anyone can do to help their plants flourish. If you’ve ever worried you might hurt your plant in the process, don’t worry. Repotting is easier than it looks, and even if you’ve made mistakes in the past, you’re about to learn how to do it right.
Why Should You Repot Garden Plants?
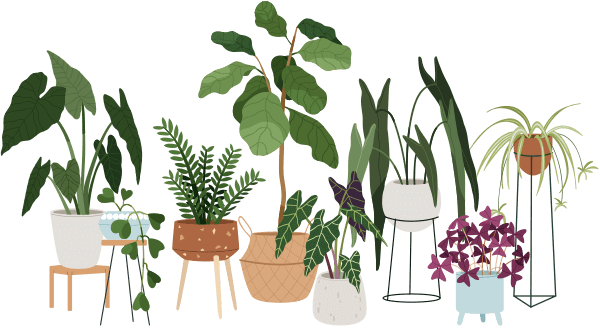
Repotting garden plants is more than just a “spring-cleaning” chore. Plants can outgrow their containers or the soil may lose nutrients over time. Here’s why giving them a fresh start is so valuable:
- Room to grow: Roots need space. A cramped pot can stunt their growth.
- Healthier roots: Old soil compacts, making it hard for roots to breathe or soak up water.
- Nutrient boost: Fresh potting mix gives your plant the food it needs.
Don’t worry if you missed the signs before—plants are resilient. This is a great time to try again!
When Is the Best Time to Repot Garden Plants?
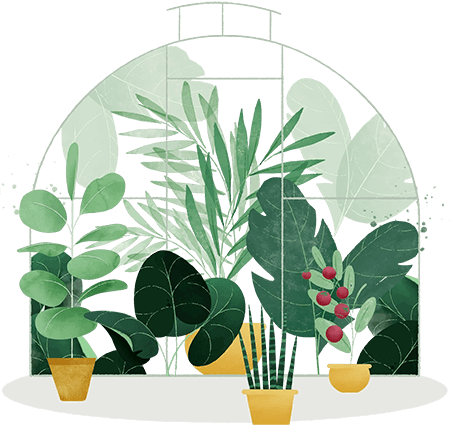
Wondering when repotting garden plants should happen? The easiest answer: late winter or early spring, right when plants are ready to start growing. However, if your plant looks unhappy (wilted leaves, roots poking out the bottom, water sitting on top), you can repot whenever needed.
Look for these signs:
- Roots coming out of the pot’s drainage holes
- Soil dries out very quickly
- Wilting or yellowing, even after watering
If you spot these, your plant is telling you it’s ready for a bigger home.
Step-by-Step Guide: How Do You Repot Garden Plants at Home?
Repotting garden plants at home is a hands-on task, but it’s nothing to be nervous about. Here’s how to do it, whether you’re in a big house or a cozy apartment:
What You’ll Need
- A new pot (one size bigger than the old one, with drainage holes)
- Fresh potting mix (choose one suited to your plant)
- Something to cover your workspace (like newspaper or a tray)
- Gloves (optional, but helps keep your hands clean)
- A small scoop or spoon
Repotting in 6 Simple Steps
1. Water your plant a day before: Moist soil holds together, making it easier to slide the plant out.
2. Loosen the plant: Gently squeeze the sides of the pot, then tip it upside down while supporting the plant.
3. Check the roots: Look for roots circling around the ball. If you see this, gently tease them out with your fingers.
4. Remove old soil: Brush off some soil, but leave enough to protect the roots.
5. Place in the new pot: Add a layer of fresh soil at the bottom, put the plant in, and fill around with more soil. Pat down lightly.
6. Water well: Give your plant a good drink—this helps settle the soil around its roots.
Myth Busting: “Is Repotting Too Stressful for My Plant?”
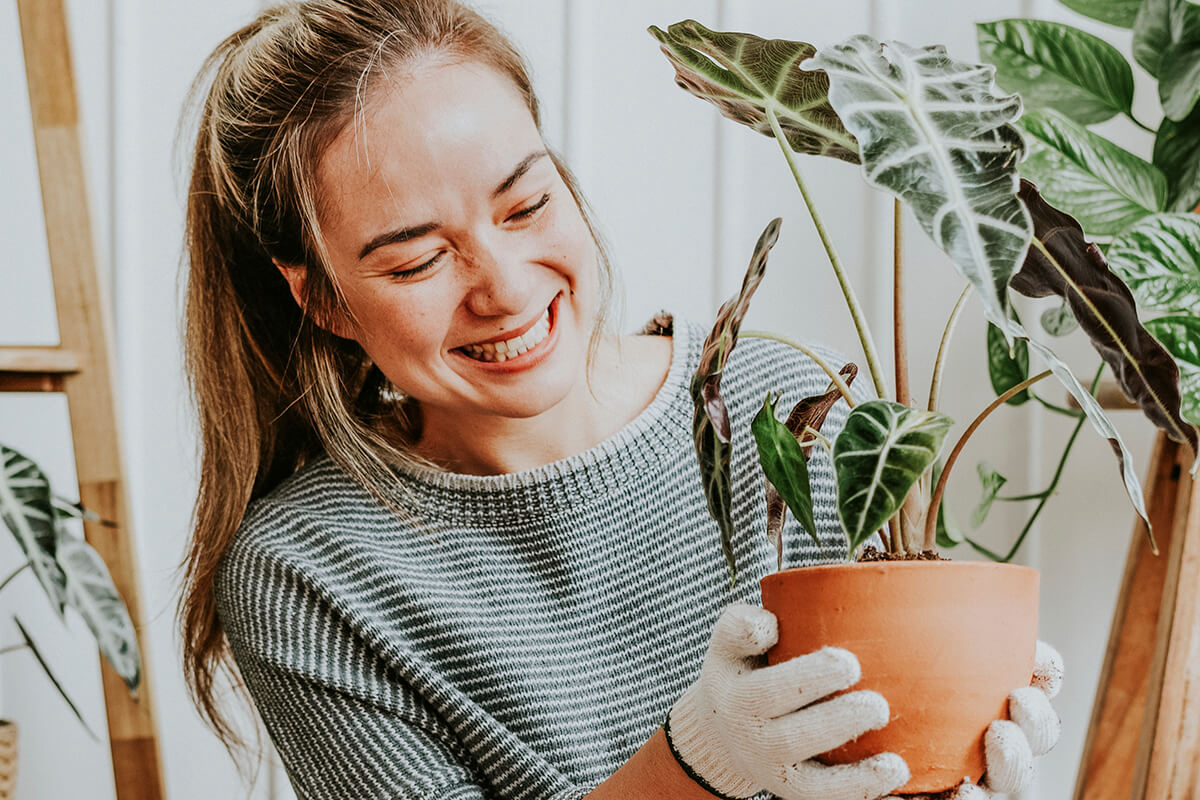
You might have heard that repotting garden plants can “shock” or “hurt” them. The truth? While plants may look droopy right after, they usually bounce back quickly and end up stronger. With gentle hands and a bit of patience, you’re helping your plant’s long-term health.
Top Tips for Stress-Free Repotting in Small Spaces
- Repot outside if you can, or use a large baking tray indoors to catch messes.
- Don’t pick a huge pot; go just one size up so the soil doesn’t stay too wet.
- Choose lightweight pots if you need to move plants often.
- If you’re worried about overwatering, add a thin layer of stones at the bottom—this helps drainage.
Summary: Why Repotting Garden Plants Matters
Repotting garden plants might feel a little daunting at first, but it’s one of the best things you can do for your leafy companions. Even if you stumble at the start, each new attempt is a step toward healthier, happier plants. Remember, plants are forgiving. With a few simple steps and a little care, you’ll see your garden—no matter how small—thrive.