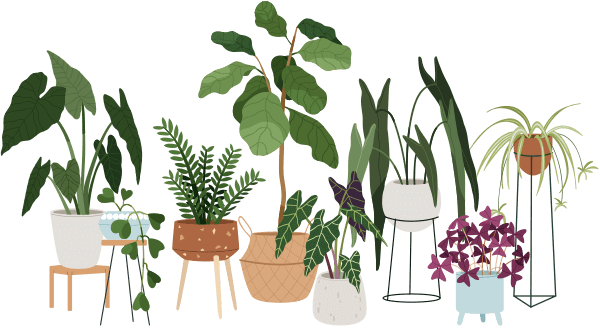

Noticed your favorite houseplant looking droopy, yellow, or mushy despite your best efforts? Don’t panic! Many plant lovers—new and experienced—face root rot at some point. The good news? Repotting a plant with root rot can actually save its life if you catch it early enough. This guide will walk you through repotting a plant with root rot in a friendly, simple way, offering hope and practical steps for every beginner, especially for those living in apartments.
What Is Root Rot and Why Does It Happen?
Root rot is a common problem for houseplants, especially when their roots sit in too much moisture for too long. Overwatering, poor drainage, or pots without holes are often to blame. The roots, which should be white and firm, start turning brown or mushy. It is okay if this has happened to your plant; you’re about to learn how to fix it!
How Can You Tell If Your Plant Has Root Rot?
If you’re unsure whether you need to be repotting a plant with root rot, check for these classic signs:
- Leaves turning yellow or wilting even though the soil is wet
- A foul, musty smell coming from the pot
- Roots look brown, slimy, or mushy instead of white and firm
We’ll solve this together!
Step-by-Step: How to Repot a Plant with Root Rot
Repotting a plant with root rot can feel intimidating, but you can do this! Here’s a simple, forgiving process.
1. Gather Your Tools
Before starting, you’ll want:
- Clean scissors or garden shears
- A new pot with drainage holes (slightly larger than the root ball)
- Fresh potting soil
- A surface to work on (like newspaper or an old towel)
2. Remove the Plant
Gently loosen and pull the plant from its current pot. If the soil is very wet, tip the pot sideways and ease it out carefully.
3. Clean the Roots
Shake off as much soil as possible. If the roots are tightly packed, use your fingers to untangle them gently. Here’s the key part:
- With your clean scissors, snip away all brown, black, mushy, or foul-smelling roots. Only firm, white roots should remain!
4. Let the Roots Dry
Let the trimmed roots air out for up to an hour. This helps extra moisture evaporate and reduces the chance of leftover fungus.
5. Choose the Right Pot and Soil
This is crucial when repotting a plant with root rot. Pick a clean pot with drainage holes. Use a fresh, high-quality potting mix—avoid reusing the old soil, which might still contain fungus.
6. Repot Your Plant
- Add some soil to the bottom of the new pot.
- Place your trimmed plant inside.
- Fill in with more soil, gently pressing it around the roots for support.
7. Water Sparingly
After repotting a plant with root rot, only water lightly. The roots need time to recover—overwatering now can restart the problem.
Can My Plant Survive Root Rot? (And Common Myths!)
Myth: *If a plant gets root rot, it’s always doomed.*
Fact: Many plants *can* bounce back if you catch the rot early and act fast by repotting.
Plants are resilient! With good care and patience, new roots can grow, and leaves can perk up. Don’t give up.
Pro Tips for Preventing Root Rot Indoors
Most apartment plant problems begin with watering habits. Here’s how to keep root rot from returning:
- Always use pots with drainage holes.
- Try sticking your finger in the top inch of soil: If it’s still moist, wait before watering again.
- Empty saucers under pots so water doesn’t pool.
Summary: Repotting a Plant with Root Rot Is the Start of Recovery
If you’re feeling guilty or discouraged, remember: Repotting a plant with root rot is often the best—and sometimes only—way to give your plant a second chance. With a bit of patience, care, and the right steps, you’ll soon see signs of new growth and health. Every plant parent makes mistakes. What matters is that you’re learning now!