If you’ve noticed your gardenia looking a little unhappy, you might be wondering if it’s time for a fresh start. Maybe you’re intimidated by the idea or you’ve heard these beautiful plants are fussy about changes. You’re not alone! Repotting gardenia plant might sound daunting, but with a little guidance—and a gentle, step-by-step approach—you can give your gardenia what it needs to thrive. Whether you live in a cozy apartment or have a sunny balcony, repotting your gardenia can be easy, rewarding, and a wonderful way to connect with your plant.
How Do You Know When to Repot Your Gardenia Plant?
It’s easy to worry you’ll get the timing wrong. Let’s debunk a myth right here: your gardenia doesn’t need to be repotted every year! In fact, too much repotting can cause more harm than good.
Here are clear signs to help you decide:
- Roots are growing out of the bottom drainage holes
- Water sits on top of the soil instead of soaking in
- Leaves look yellow, droopy, or the plant seems to stop growing
If you see these, don’t panic. Repotting gardenia plant can revive even a tired-looking plant.
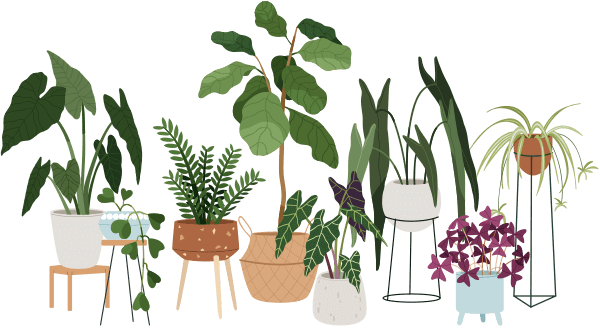
What Supplies Do You Need for Repotting Gardenia Plant?
Before you get your hands dirty, gather these items so everything’s ready:
- A clean pot that’s only 1 to 2 inches wider than the old one
- Fresh, well-draining soil designed for acid-loving plants (like azalea or camellia mix)
- Gloves (if you prefer to keep hands clean)
- A small trowel or spoon
- A watering can
Pro Tip: It’s tempting to pick a much bigger pot, but resist! Gardenias actually prefer a snug fit.
Step-By-Step Instructions: How to Repot a Gardenia Plant Safely
Here’s the gentle, supportive method—no stress or rushing!
1. Water your plant a day before repotting. This makes it easier to remove.
2. Gently wiggle the gardenia out of its pot. If roots are stuck, tap the sides or squeeze the pot to loosen.
3. Inspect the roots. Snip off any brown, mushy, or overly long circling roots using clean scissors.
4. Place a thin layer of fresh soil in the new pot.
5. Set your gardenia in the center. Make sure the top of the root ball is about 1 inch below the pot’s rim.
6. Fill in around the roots with new soil. Press lightly—don’t pack it tight!
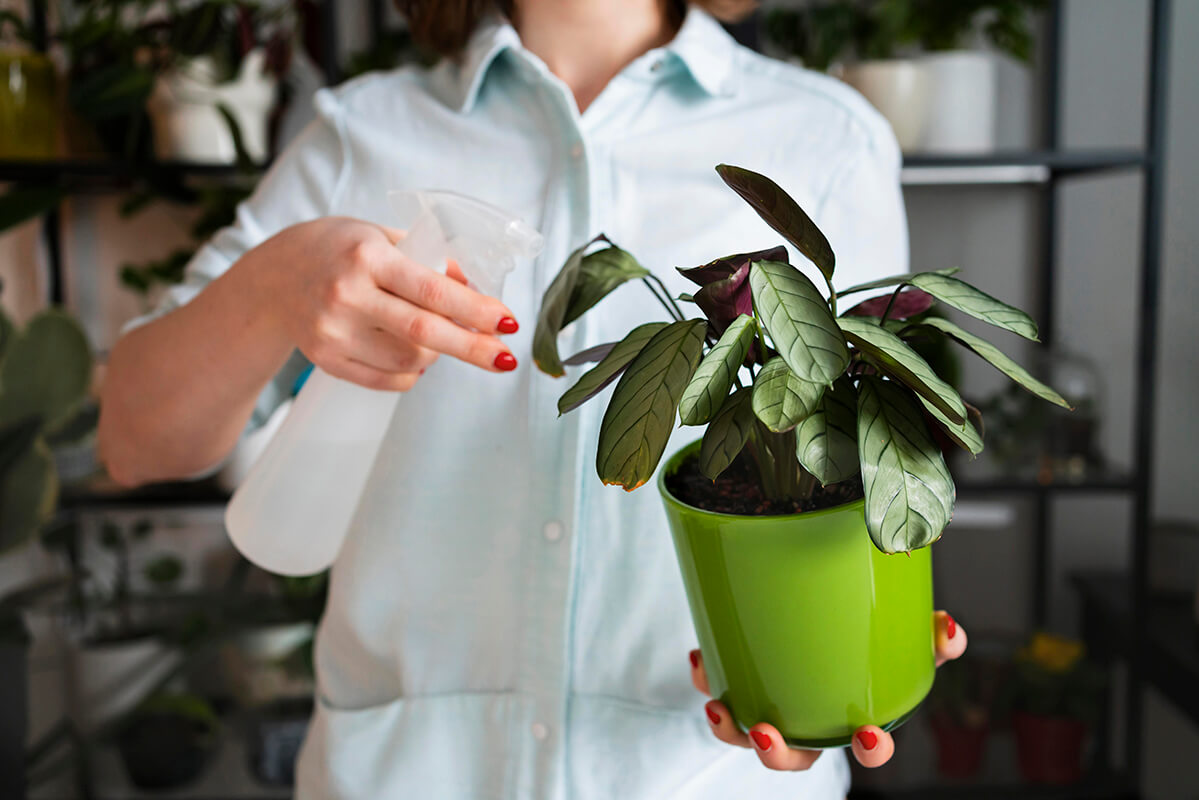
7. Water thoroughly. Let any extra water drain out.
8. Put your plant back in its favorite bright, indirect spot.
What Should I Expect After Repotting My Gardenia?
After repotting gardenia plant, expect a short adjustment period. It’s common for leaves to droop or turn pale for a week or two—don’t worry, this is normal! Just keep watering when the top inch of soil feels dry and avoid the urge to fertilize right away. Your gardenia will tell you it’s happy again with new leaf buds and healthy growth.
Common Questions and Myths About Repotting Gardenia Plant
Myth: “Repotting gardenia plant will kill it because they hate change.”
Truth: While gardenias are sensitive, a careful repot with minimal root disturbance can actually help them recover from stress or old soil. Just be gentle and patient.
Question: Can I use regular potting soil?
Answer: Gardenias love soil that stays a bit acidic. Using soil made for azaleas or camellias really helps them thrive in a pot.
Summary: Repotting Gardenia Plant Is Manageable—And Worth It!
Don’t let fear or myths hold you back from repotting gardenia plant! With the right timing, a dash of patience, and gentle care, you’ll see your gardenia adapt and flourish. Remember, it’s perfectly normal for a gardenia to sulk before it perks up. With your new know-how, your gardenia can have a healthy, happy home for years to come.