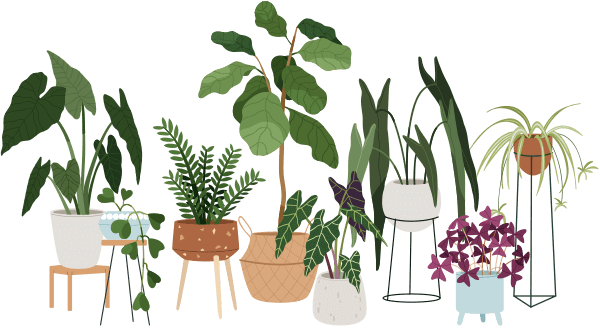

So, your majestic elephant plant is outgrowing its pot, and you’re feeling a little nervous about making the move? Rest easy—repotting elephant plant is simpler than you think, and there’s no such thing as a “perfect” technique. This friendly, step-by-step guide will walk you through everything you need to know, whether your green thumb is just blossoming or you’ve had a few mishaps in the past. Remember, every plant parent learns by doing!
Let’s dig into the reasons, the timing, and the gentle process of repotting your elephant plant, making sure it thrives in your home—apartment windowsill and all.
What Is an Elephant Plant and Why Does It Need Repotting?
The “elephant plant” usually refers to the elephant bush (Portulacaria afra) or sometimes the Elephant ear (from the Alocasia or Colocasia family). These beauties can live happily in pots for years, but eventually, their roots run out of space, or the old soil loses the nutrients your plant needs.
Repotting elephant plant refreshes the soil and gives roots more room, helping your plant stay healthy and bushy. Don’t worry if it seems intimidating—repotting is a normal part of plant care!
When Is the Right Time for Repotting Elephant Plant?
Knowing when your elephant plant needs a new home is half the battle. Here’s what to look for:
- Roots poking out the drainage holes
- Water rushing through the pot (hardly soaking into soil)
- Growth stalls, despite enough sunlight
- The plant becomes top-heavy or leans to one side
Most elephant plants like repotting in spring or early summer, but if it’s struggling, repotting can happen any time.
How to Repot Your Elephant Plant: A Step-by-Step Guide
Repotting elephant plant doesn’t need fancy tools—just a gentle hand and a little care. Here’s how you do it:
Gather Your Materials
- A new pot (about 2 inches wider than the old one, with drainage holes)
- Fresh potting mix (a well-draining succulent or houseplant soil)
- Gloves (optional, for sensitive skin)
- Spoon or trowel
Step-by-Step Instructions
1. Water First
Give your elephant plant a little water the day before, making it easier to remove.
2. Loosen and Remove
Tip the pot sideways and gently wiggle the plant out. If it’s stuck, tap the pot sides or squeeze it gently (soft plastic pots are easier!).
3. Check the Roots
Remove old soil gently from the roots. If roots are circling around, softly tease them free. Trim away any mushy (rotten) roots with clean scissors.
4. Place in New Pot
Add fresh soil to the bottom of the new pot. Center your plant and fill in around the sides with more fresh mix.
5. Settle In
Press soil down lightly—but don’t compact too much. Water sparingly at first.
Aftercare Tips
- Keep your repotted elephant plant in filtered sunlight for a week.
- Don’t overwater—wait until the top inch of soil dries out.
- Expect some leaf drop: Plants may shed old leaves after repotting. This is normal.
Common Problems When Repotting Elephant Plant (and How to Fix Them)
Worried you’ve gone wrong? Most problems are reversible, and your plant is tougher than it looks!
- *Yellowing Leaves*: Usually from overwatering. Cut back and let dry out.
- *Wilting*: Too much sun too soon. Move it back to gentle light.
- *Root Rot*: Always use a pot with drainage holes.
Myth Buster: Bigger Pot, Happier Plant?
A common misconception is that your elephant plant will love a much bigger pot. In truth, a huge pot holds more moisture, increasing the risk of root rot. Choose a pot only a bit bigger than the previous one!
Summary: Repotting Elephant Plant Is Simple and Rewarding
Repotting elephant plant is about giving your green friend the best possible home—not about being perfect. With a few basic supplies and a calm hand, you’ll have your elephant plant thriving in its new pot in no time. Remember, every plant lover learns along the way, and each repotting is a chance to build your confidence. Happy planting!