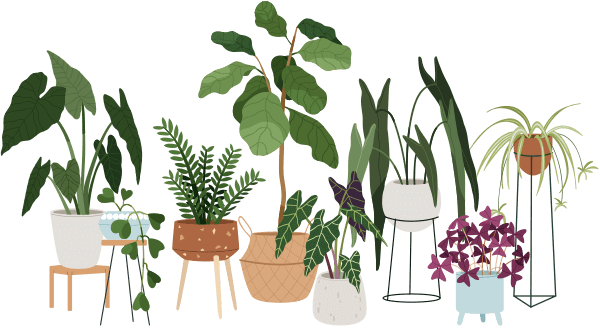
Foliage plants fill our apartments with vibrant green, purifying air and lifting our spirits. But sometimes their roots feel cramped, their soil becomes tired, and their growth slows. That’s your cue—it’s time for repotting foliage plants! Whether you’re a seasoned plant parent or still mastering the watering can, this guide will walk you through everything you need to know, with plenty of encouragement and practical tips.
Repotting might sound scary, but it’s one of the easiest ways to give your leafy friends a new lease on life. Plus, it’s actually fun once you know the basics!
When Should You Repot Foliage Plants?
Life gets busy, and it’s easy to forget about the pots under your care. But how do you know when repotting foliage plants is necessary? Watch for these signs:
- Roots are poking out from the pot’s drainage holes
- Water runs straight through the soil, not soaking in
- Leaves look droopy or yellow despite regular care
- The plant seems to have stopped growing
- Soil feels hard, compacted, or smells musty
Most houseplants need repotting about every 12–24 months. Spring or early summer is usually best, when plants are gearing up for a growth spurt.
What Do You Need for Repotting Foliage Plants?
Gather your supplies before you start. Here’s a simple checklist for repotting foliage plants in any apartment:
1. New pot, 1–2 inches wider than the current one
2. Fresh, well-draining potting mix (check the bag—make sure it’s for houseplants)
3. A trowel or sturdy spoon
4. Watering can or spray bottle
5. Gardening gloves (optional but helpful)
6. Something to protect your floor or table (like old newspapers)
Remember: The new pot should have drainage holes. This prevents soggy roots, which many plants dislike.
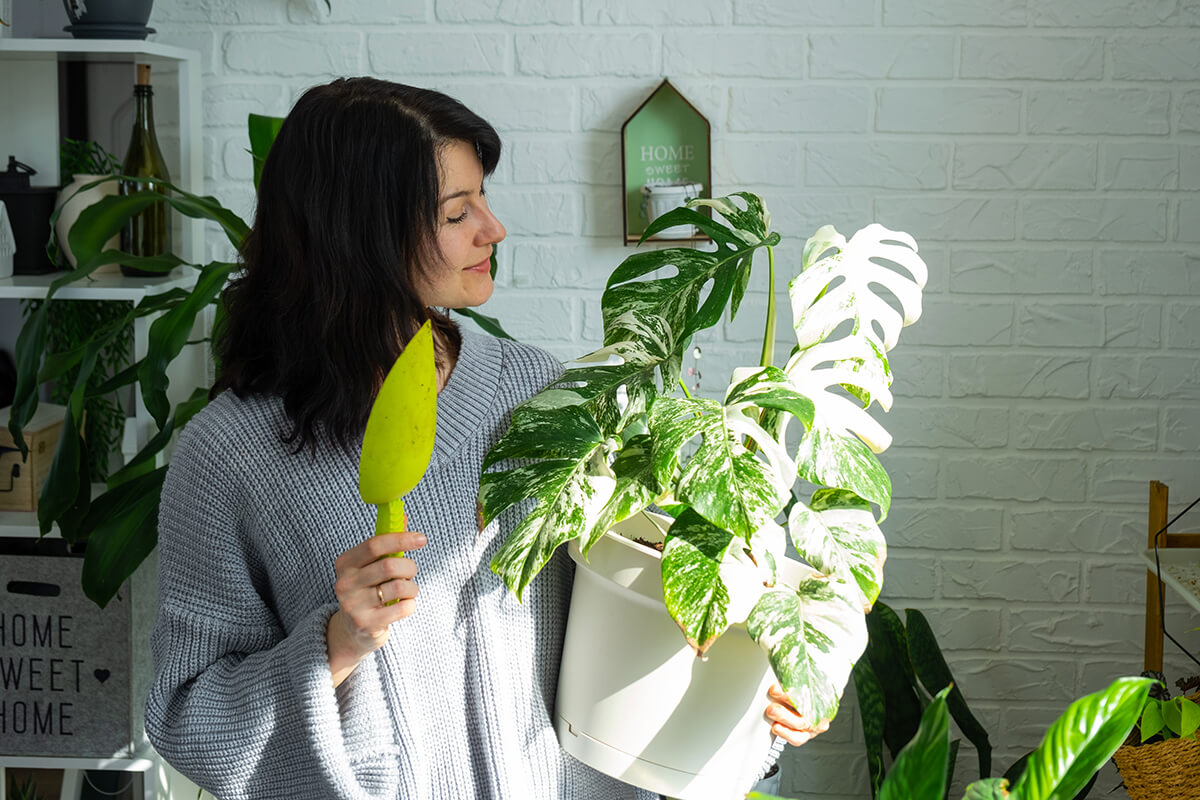
How to Repot Foliage Plants: Step-by-Step Lesson
Repotting foliage plants doesn’t take specialist skills. Here’s how to do it gently and successfully:
1. Water the plant a few hours before repotting. Moist soil holds together better and helps ease out the roots.
2. Loosen the plant from its old pot. Tip the pot sideways and gently squeeze or tap the sides. Support the plant with your hand at the base.
3. Examine the roots. White, healthy roots mean all is well. If you see tightly wound roots (“root ball”), gently tease them apart with your fingers.
4. Trim if needed. Any black, mushy, or dead roots can be snipped away with clean scissors.
5. Add fresh mix. Place a layer of new soil on the bottom of the new pot.
6. Settle the plant. Sit the plant in the center, then fill around it with soil, pressing lightly. Don’t bury the stem!
7. Water thoroughly. Let excess drain away. Top up soil if it settles.
Don’t worry if your plant looks a bit droopy for a few days. It’s just adjusting to its new home and will perk up soon!
Common Myths About Repotting Foliage Plants
Myth: You should always move a plant to a much larger pot.
Truth: Upsizing too fast can stress roots and lead to overwatering. Always choose a pot just 1–2 inches bigger!
What to Do After Repotting Indoor Plants?
- Keep out of direct sun for a week—let your plant rest
- Avoid fertilizing for a month; give roots time to heal
- Monitor moisture but don’t overwater
Plants often need a little time to settle after moving. With care, they’ll soon show fresh, happy growth.
Summary: Repotting Foliage Plants Is Simple Self-Care for Your Greens
Repotting foliage plants might feel intimidating at first, but it’s one of the most helpful things you can do for your indoor garden. By watching for signs, using the right tools, and following gentle steps, you’ll help your beloved plants flourish in your apartment for years to come.