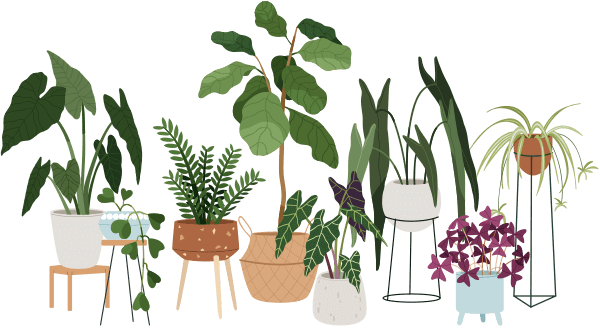

If you love the bold, dramatic look of elephant ear plants (those with giant, heart-shaped leaves!), chances are you’ll need to tackle repotting at some point. Repotting elephant ear plants may seem daunting if you’re new to indoor gardening or worried about harming such a majestic plant. Don’t worry—you’re in the right place! This guide breaks down everything you need to know about repotting elephant ear plants, from signs it’s time, to a step-by-step process, and even busts a few common myths. Whether you’ve struggled in the past or you’re just learning, you can do this. Let’s get started and help your elephant ear thrive in its new home.
When Should You Repot Elephant Ear Plants?
Wondering how to tell your plant needs more space? Repotting elephant ear plants doesn’t have to be a guessing game. Here are some clear signs:
- Roots are growing out of the bottom of the pot
- Leaves look smaller or paler than usual
- Water runs straight through the pot too quickly
- The plant seems crowded or top-heavy
Most indoor elephant ear plants benefit from being repotted every 1–2 years, often in early spring when active growth begins. Still, don’t worry if you’ve missed the “ideal” window—your plant wants a comfortable pot, whenever you give it!
What Do You Need for Repotting? Essential Supplies and Setup
Let’s keep it simple. Here’s what you’ll need before repotting elephant ear plants:
- A new pot, 2–4 inches wider than the current one, with holes for drainage
- Fresh, well-draining potting mix (look for one made for houseplants)
- Gloves (elephant ear sap can be irritating to sensitive skin)
- A small trowel or your hands
- Old newspaper or a towel for easy cleanup
Tip: If you live in an apartment, repotting can happen in your kitchen or bathroom. Place everything on an old towel for a mess-free experience!
How Do You Repot Elephant Ear Plants? Step-by-Step for Success
Repotting elephant ear plants doesn’t have to be stressful. Follow these simple steps:
1. Water your plant the day before
Damp soil makes the roots less likely to break while removing the plant.
2. Loosen and remove
Gently tip the plant sideways, cradling the leaves. Squeeze the sides of the pot and ease the root ball out.
3. Check the roots
Healthy roots are white or light brown. Trim away any mushy, dark, or tangled roots.
4. Refresh and relocate
Add new potting mix to the bottom of the new pot. Place the plant so the top of the roots sits just below the rim.
5. Fill and settle
Surround the roots with fresh soil, pressing gently so there aren’t big air pockets.
6. Water well
Give the plant a good drink, letting extra water drain through the bottom.
7. Find the right spot
Put your repotted elephant ear back where it was, or move it into bright, indirect light.
Is It True That Elephant Ear Plants Like to Be Root-Bound?
This is a common myth! Some people believe repotting elephant ear plants too often is bad, but crowded roots can actually keep the plant small and thirsty. Repotting gives your elephant ear more room to grow those stunning leaves.
Aftercare: What to Expect When You’ve Just Repotted
After repotting elephant ear plants, don’t worry if your plant droops for a few days—this is normal. Give it a little time to adjust.
- Water just enough to keep the soil moist, not soggy.
- Avoid heavy feeding (wait about a month before using fertilizer).
- Keep the plant in its usual bright, indirect light.
Within a few weeks, you’ll see signs of growth and perky leaves.
Summary: Repotting Elephant Ear Plants Made Easy
In short, repotting elephant ear plants is a wonderful habit that helps these beauties thrive indoors, even in small apartments. Remember to watch for signs that your plant needs more room, use basic supplies, and follow straightforward steps. Don’t worry if you’ve made mistakes—every gardener learns this way! With a little care, your elephant ear will reward you with lush, spectacular foliage for years to come.